
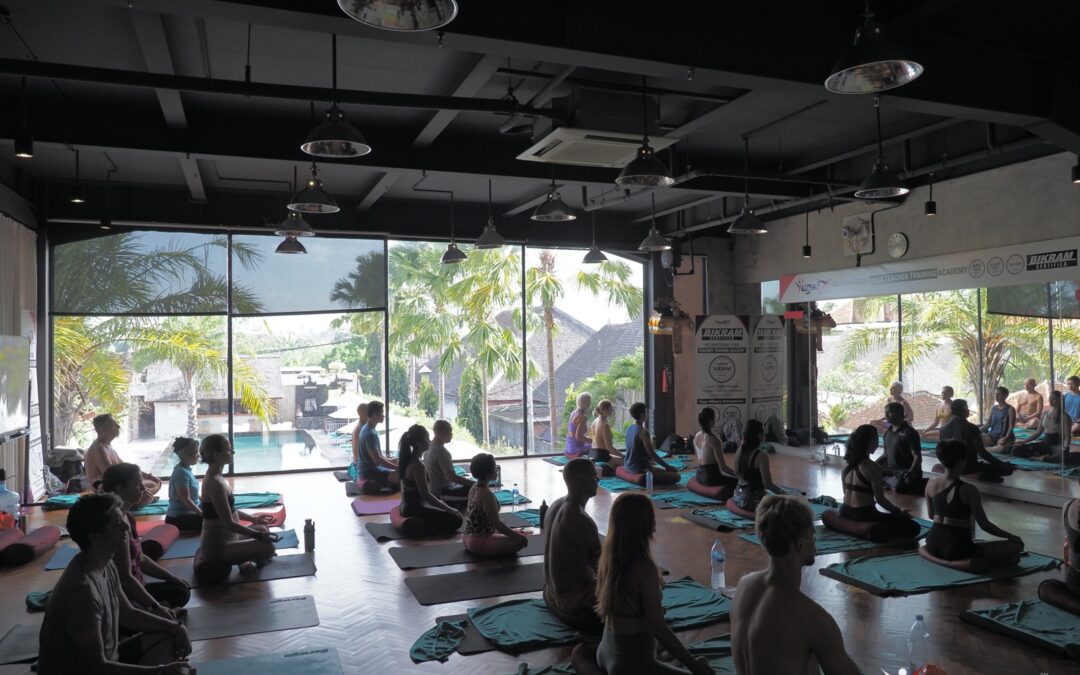
Cobra pose (Bhujangasana) is a floor backbend you can learn at home from a spoken script. You lie on your belly, lift your chest with your back muscles, and keep your hips on the floor. This cobra pose online lesson gives you seven cues to say aloud, the errors to watch for and a safe lift height.
A quick note before we start, because it matters. This is general information, not medical advice. If you have a back, neck or shoulder problem, a recent injury, or you are pregnant, please consult a healthcare professional before you practise.
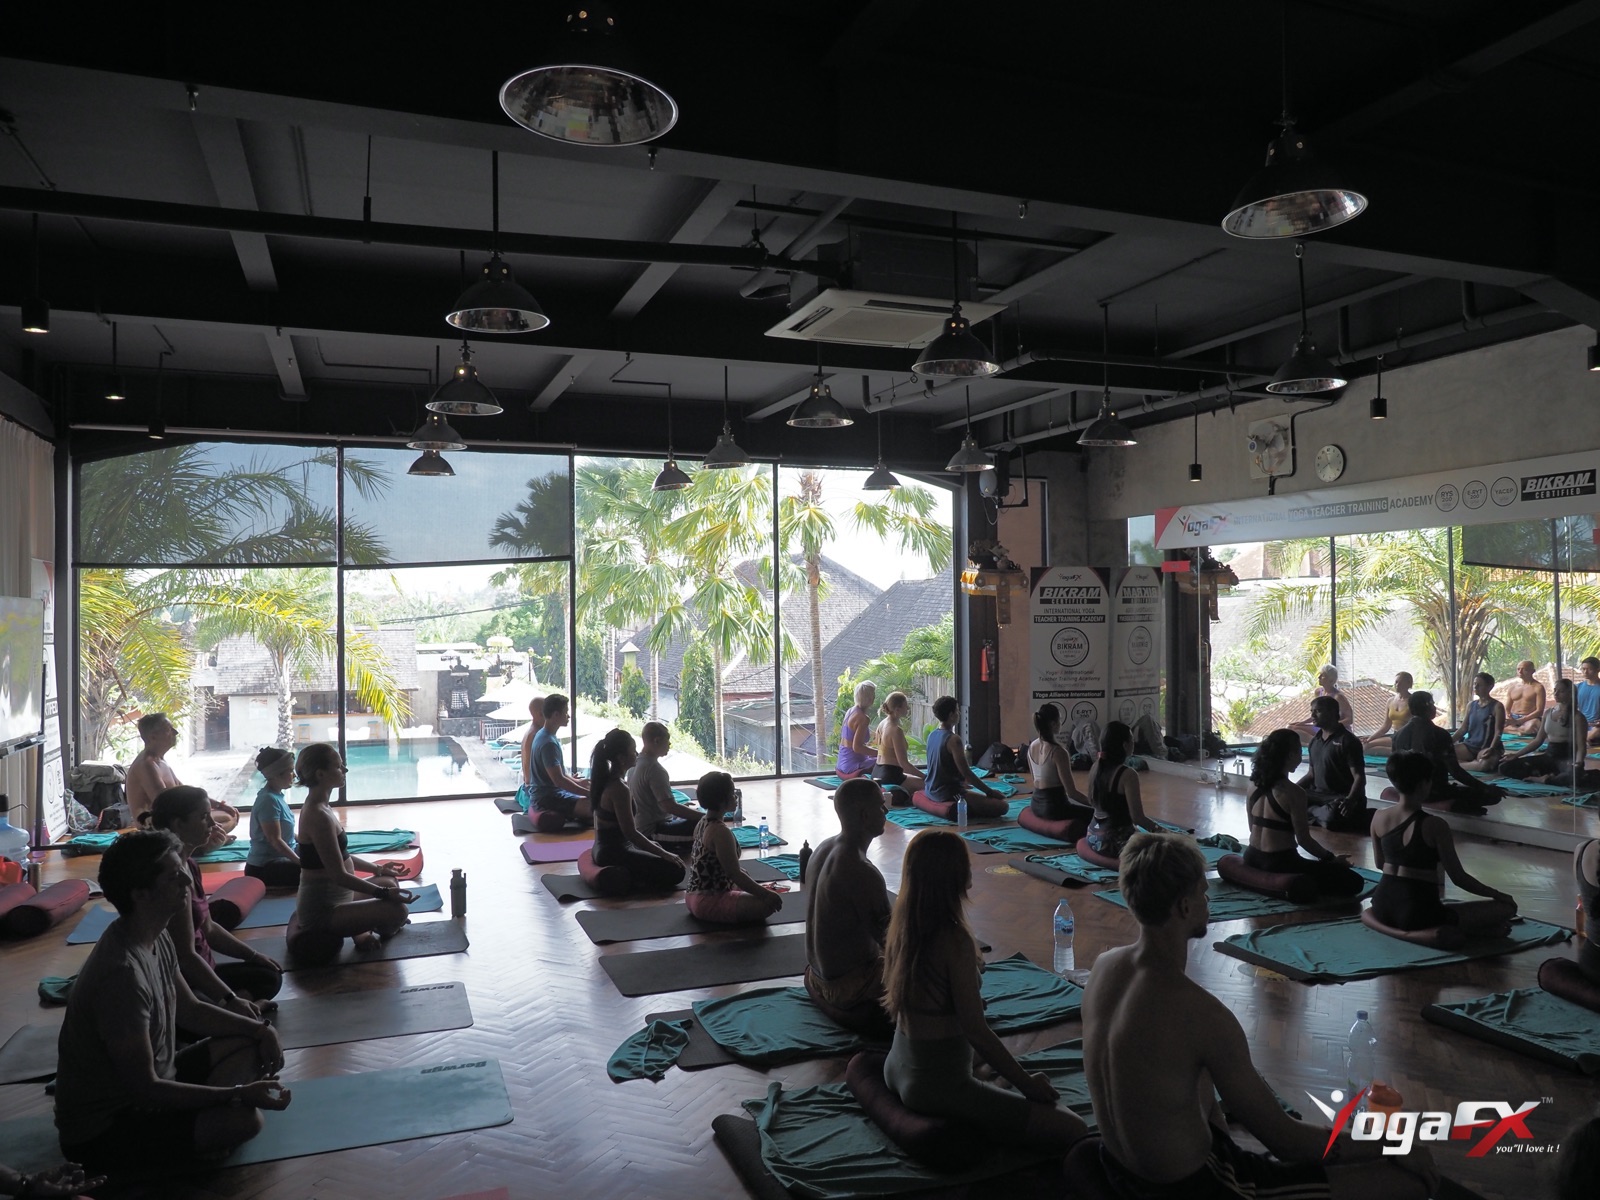
Cobra Pose Online Lesson: What You Are Learning
Cobra pose looks gentle, so most people rush it, and that is where trouble starts. In fact it asks three things at once: strong back muscles, quiet shoulders and hips that stay put. A camera cannot check those three for you. A spoken script can, because you hear each cue in order and check your body against it.
That is why we teach it as a lesson with a script and not as a photo to copy. You read one line, move, then read the next line. After a few rounds, the lines live in your head and you start cueing yourself.
Where cobra pose sits in the floor series
In the Original Hot 26&2 sequence, cobra pose is the first floor backbend. It arrives after a forward fold, so your spine has just been bent one way and now has to reverse. Our page on the 26&2 poses shows the full class order, so you can see what comes before and after.
At home you will practise it at room temperature. That is deliberate. You learn the shape and the cues first, and you add heat later in a studio if you choose to.
Why the name helps
Bhujangasana comes from bhujanga, the Sanskrit word for snake. Picture a snake raising its head while the body stays low. The head and chest rise, and the belly, hips and legs stay grounded. If you remember only one image, keep that one.
The Seven-Line Home Script for Cobra Pose
How to use the script
Read each line aloud, or record yourself saying it, then do what it says. Pause for one breath between lines. This is our own plain-language script for home study. It is not the class dialogue, which is taught live. If you are curious how a spoken dialogue is learned, our guide to the Bikram yoga dialogue explains the method.
| Line | What you say aloud | What it protects | Error it catches |
|---|---|---|---|
| 1 | Lie face down, legs together, tops of the feet pressing into the floor. | Gives the lower body a firm base | Legs fall apart, feet roll out |
| 2 | Hands under your shoulders, elbows hugging your ribs. | Makes the arms a rail, not a lever | Hands too far forward, arms lock early |
| 3 | Breathe in and lift your chest with your back, hands light. | Trains the spine to extend with its own strength | Shoving up with straight arms |
| 4 | Hips stay heavy on the floor. | Spreads the bend across the whole spine | Hip bones lift, lower back folds sharply |
| 5 | Slide your shoulder blades down toward your hips. | Opens the chest and frees the neck | Shoulders shrug up to the ears |
| 6 | Eyes look slightly up, neck long. | Keeps the neck in line with the spine | Head thrown back, neck crushed |
| 7 | Breathe out and lower slowly, cheek to the floor. | Lets the back muscles release in one line | Dropping fast, holding the breath |
Notice how each line protects the next. The legs make the base, the base lets the back lift, and the hips on the floor keep the bend in the upper back. Take one line out and the shape changes.
Hold time and rounds
Hold the top position for 10 to 15 seconds, breathing slowly. Then rest with your cheek on the floor for a few breaths and repeat once. Two rounds teach more than one long hold, because the first round shows you where you collapse and the second lets you fix it.
Hand Placement, Hip Contact and a Safe Lift Height
Two placements decide most of the shape. First, the hands. Set them under the shoulders, not beside the face and not far forward. If the hands sit too far ahead, the elbows straighten early and the lower back takes the load.
Second, the hips. Press the front of the pelvis into the floor and keep it there. If you feel your hip bones lifting away, lower the chest and start again. Depth does not matter here. Control does.
Step 1: Hover
Floor cobra
Chest barely leaves the floor, elbows bent, hands light. Start every week here.
Step 2: Low
Low cobra
The chest rises a hand's width. The back works, the neck stays long.
Step 3: Working
Mid cobra
Lower ribs lift. The front of the hips still touch the floor and the breath stays slow.
Stop sign
Come down
Hip bones lift, you feel a pinch in the lower back, or you feel tingling. Rest and ask for advice.
Move up the ladder only when the step below feels steady. Many people stay at step one or two for weeks and still feel a clear stretch across the front of the hips. If a week feels worse than the last, go lower without any guilt.
Benefits of Cobra Pose: What to Expect and What Not to Expect
People ask about the benefits of cobra pose more than any other detail, so here is a grounded answer. These are the effects students tell us they notice, not medical claims.
- A clear stretch across the front of the hips and chest. Long hours of sitting shorten that area, and a low lift lengthens it gently.
- Awareness of the back muscles. Many beginners meet their mid back for the first time in this pose.
- A calmer shoulder position. Sliding the shoulder blades down teaches you where "relaxed" sits.
- A simple breathing anchor. The lift happens on the in-breath and the release on the out-breath, which keeps the mind on one job.
What you should not expect is a quick fix for pain, posture or height. Searches for the benefits of cobra pose often promise those. We would rather you build a steady home practice and judge the results yourself after a few weeks.
Six Cobra Pose Errors a Camera Cannot Catch
Most cobra pose mistakes come from chasing height. People see the head rise and think higher is better. Here are the six we see most often, with the first fix to try.
- Pushing up with straight arms. Bend the elbows and let the back muscles lead the first part of the lift.
- Hips lifting off the floor. Press the pelvis down and lower the chest until the hips feel heavy.
- Shoulders shrugged to the ears. Slide the shoulder blades down the back and lengthen the neck.
- Neck thrown back. Keep the chin close to level with the chest and look only a little way up.
- Holding the breath. Breathe in as you lift, then breathe slowly while you hold, because a held breath tightens the back.
- Legs apart and feet rolled out. Squeeze the legs together and press the tops of the feet down.
Problem solver: what you feel and what to change
| What you feel | Likely cause | First fix to try |
|---|---|---|
| Pinch in the lower back | Hips lifted or arms pushing too hard | Lower the chest, press the pelvis down, bend the elbows |
| Sore neck | Head thrown back | Lengthen the back of the neck and look only slightly up |
| Tired wrists | Hands too far forward, weight in the palms | Move the hands under the shoulders and keep them light |
| Nothing in the back muscles | Arms doing the work | Hover the hands for one breath and let the back lift alone |
| Dizzy or short of breath | Held breath or a long hold | Come down, rest, and shorten the hold next round |
For example, a student who always feels cobra pose in the lower back is usually pushing with the arms and lifting the hips together. A lower lift with the elbows bent fixes both at once.
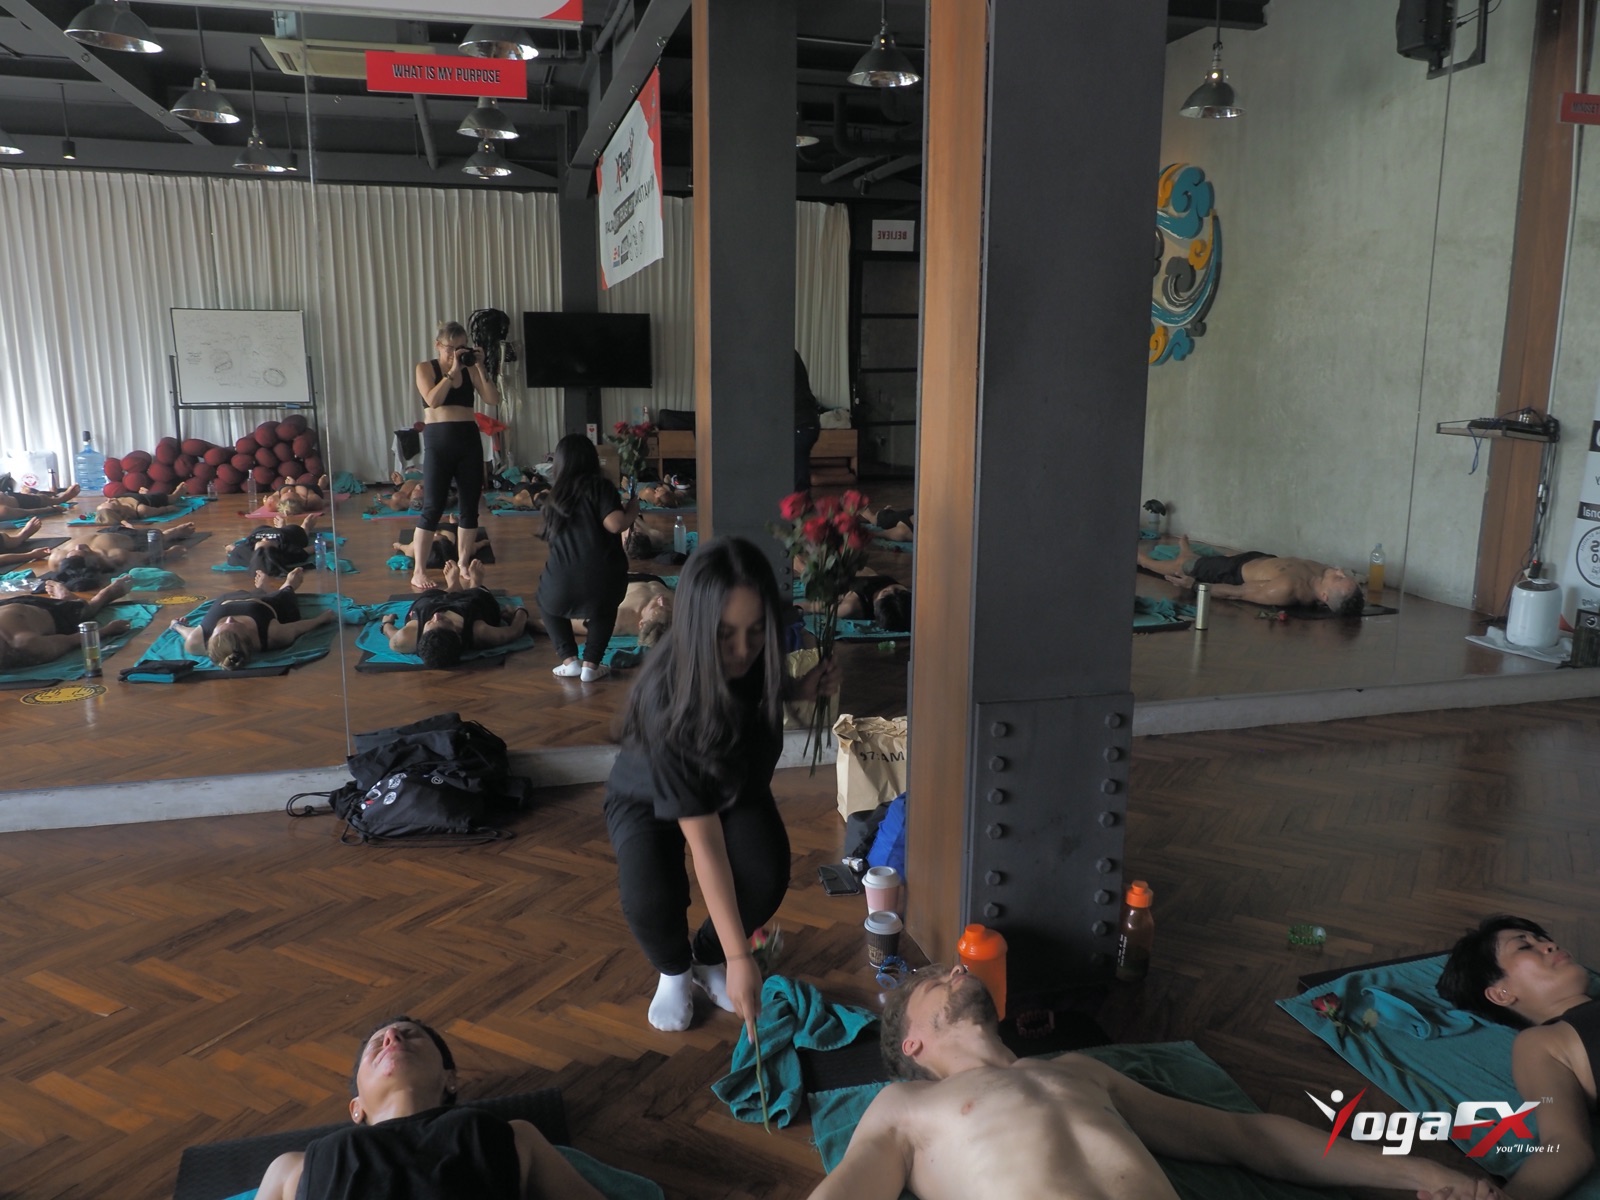
Rest matters as much as the lift. After each round you lie still and let the breath settle. Our guide to why final rest matters after heat explains what that stillness does for you.
What the Research Says About Yoga and Back Care
Yoga and chronic low back pain
Cobra pose is a back extension, so people ask whether it helps back pain. The honest answer is: it may, a little, and the evidence is modest. The US National Center for Complementary and Integrative Health reports that the 2017 American College of Physicians guideline strongly recommended yoga, based on low-quality evidence, as initial treatment for chronic low back pain.
The same NCCIH digest, "Yoga for Pain: What the Science Says" also cites a 2022 Cochrane review. It found low-to-moderate certainty that yoga gives only small and clinically unimportant gains in back-related function and pain compared with no exercise. In other words, yoga is a reasonable choice, not a miracle.
Why we do not oversell one pose
A 2006 systematic review in Spine pooled eleven trials of the McKenzie method, a structured exercise approach for low back pain. Machado and colleagues found some evidence of benefit over passive therapy in acute pain at one week, about 4 points on a 100-point scale. The authors judged that the difference suggests the absence of clinically worthwhile effects. You can read the abstract on PubMed.
So here is what we take from both sources. Exercise and yoga are safe, sensible tools for most healthy people. They are not a promise. That is why our cues focus on control and a modest lift, not on how high you can go.
Safety first
NCCIH says yoga is generally safe for healthy people when performed properly under the guidance of a qualified instructor. It adds that injuries can occur, and that the most common are sprains and strains. People with health conditions, older adults and pregnant women may need to avoid or modify some poses. Stop if you feel sharp pain, pinching or tingling, and see a healthcare professional if it does not settle.
Why Teachers Say the Cues Out Loud
Mr. Ian Terry, E-RYT 500, has more than 12,000 teaching hours. He trained for five years, from 2014 to 2019, with the founder of the Original Hot 26&2 method. For a floor posture like cobra pose, that background shows up in how trainees learn to speak.
Trainees practise naming where the hands sit, where the hips must stay and when a student has lifted too high. During the posture clinic, they track each posture on a wall chart and fix one cue at a time. A video cannot tell which cue a student needed, but a trained voice can.
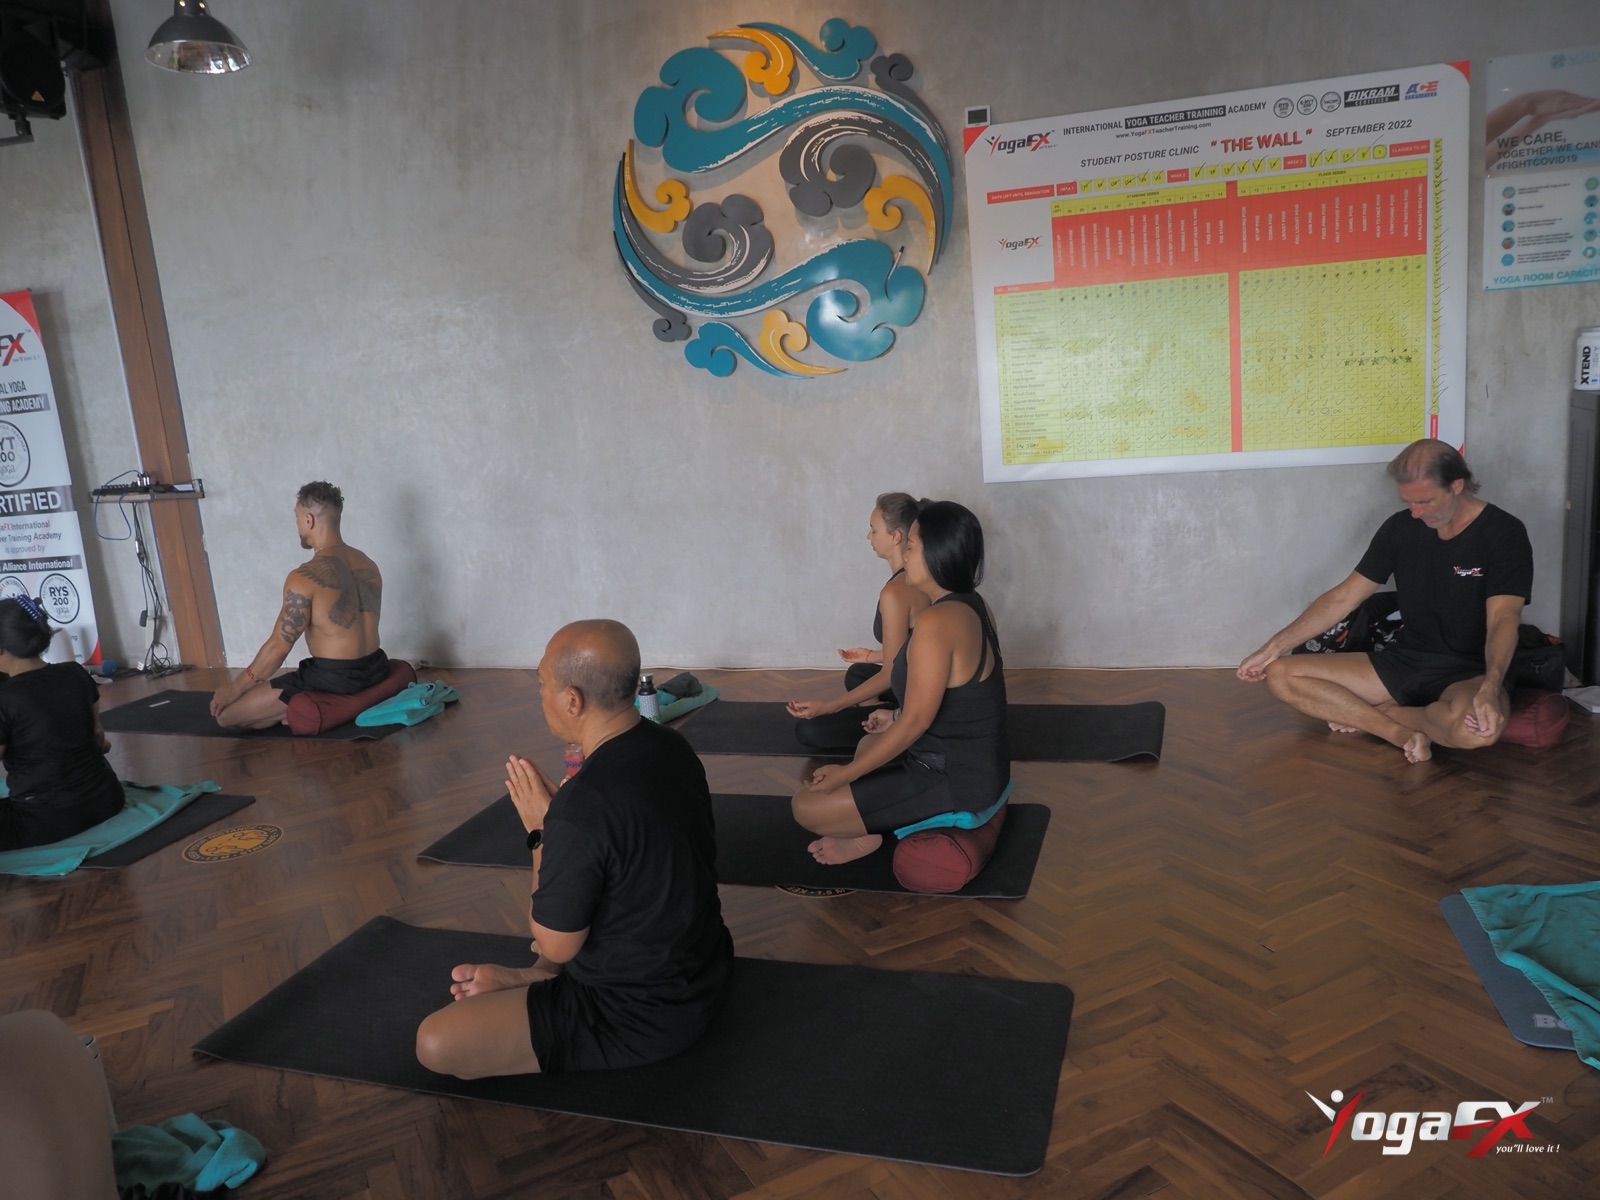
That is also why this lesson gives you a script. When you can say the seven lines from memory, you can check your own cobra pose, and later you can cue a friend. If you want to see how the same cues sit inside a full class, the studio-side 26 and 2 guide to cobra pose covers the class order and a depth ladder.
A Ten-Minute Home Routine Around Cobra Pose
Cobra pose works best as one part of a short session. Here is a simple plan for a home practice on a room-temperature floor with a towel or mat. You don't need any other equipment.
- Minutes 1 to 2: Lie face down and breathe slowly. Read lines one and two aloud.
- Minutes 3 to 5: Do two rounds of floor cobra with a 10-second hold and a rest between.
- Minutes 6 to 8: Move up to low cobra for two rounds. Say lines three to six as you go.
- Minutes 9 to 10: Lie still, turn the head to one side and breathe. Say line seven on the way down.
Do this three times a week and keep a one-line note after each session. For instance: "hips stayed down, neck sore." After two weeks, the notes show you the pattern. If you want more floor and standing postures to join it, read our guide to hot yoga poses for men. It places cobra pose inside a four-week plan.
Drink water before you start and stop if you feel dizzy. You do not need to heat the room, and you should not.
What YogaFX Students Say
Instructions tell you what to do. Students tell you how it feels to learn it. Here are three reviews from people who trained with YogaFX.
“Super fantastic, simple pose but very hard.” She also called Mr. Ian a kind and charismatic teacher (paraphrased).
Lidya, Google review, 2022
“Any age is not a limit. I am over 60 and I did it and I’m so proud of myself.”
Margarita, YouTube review, 2024
“I’m very grateful… you all inspire me to do more and better.”
Stacey, YouTube review, 2024
You can watch Margarita tell her story in her 5-star YouTube review below.

Take Cobra Pose Further With the Online Course
If this lesson made you curious about the spoken method, the next step is our hot yoga teacher training online course. It teaches the postures, the dialogue and the science from home, on your own schedule, led by Mr. Ian Terry. The course costs USD 329, or four payments of USD 82.
Since 2017, YogaFX has trained more than 1,500 graduates from over 80 countries.
This article is part of our online yoga teacher training guide. Related reading in Teacher Training Guides: Triangle Pose Step by Step: 7 Safe Cues to Learn at Home and Tripaneer Bankruptcy: 7 Steps to Protect Your Yoga Teacher Training Deposit.
Want hands-on practice in a heated room? See the Bikram yoga teacher training in Bali, led by Mr. Ian Terry, our lead trainer.
FAQ
How long should you hold cobra pose?
Hold cobra pose for 10 to 15 seconds while you breathe slowly. Then lower, rest for a few breaths and repeat once. Short holds with good form teach more than one long hold. If your lower back pinches or your arms shake, shorten the hold and lower the chest.
Is cobra pose good for lower back pain?
It may help some people, but the evidence for yoga and back pain is modest. The NCCIH reports a guideline that recommends yoga for chronic low back pain on low-quality evidence. Keep the lift low, stop at any pinching or tingling, and ask a healthcare professional first if you have pain.
Why does cobra pose hurt my lower back?
Pain usually means you lifted too high, pushed with straight arms or let your hips leave the floor. Lower the chest, bend the elbows and press the pelvis down. If the pain is sharp, does not ease or travels down a leg, stop and see a healthcare professional.
How often should I practise cobra pose?
Three short sessions a week is a sensible start for most healthy beginners. Do two rounds each time and rest between them. Keep a note of how your back and neck feel afterwards. If you feel sore the next day, take a rest day and lower your lift.
Can you do cobra pose without using your hands?
Yes, and it is a good test. Lift the chest, hover the hands just above the floor for one breath, then place them back. If your chest drops, your back muscles need more work. Practise low lifts until you can hover without losing your hips on the floor.
Still have questions? Message Mr. Ian and the YogaFX team on WhatsApp and we will answer them personally.

Founder and lead trainer of YogaFX International Yoga Teaching Academy, with more than 12,000 hours of teaching. He trained for 5 years, from 2014 to 2019, with the founder of the Bikram Hot 26&2 method.
Published · Last reviewed and updated
You may also like
Explore all articles Teacher Training Guides14 min read22 Nov 2026
Balancing Stick Pose: Learn the Steps and Fix Mistakes Online
Read article ↗ Teacher Training Guides14 min read21 Nov 2026
Standing Head to Knee Pose: Learn the Steps and Fixes Online
Read article ↗ Teacher Training Guides10 min read21 Nov 2026