
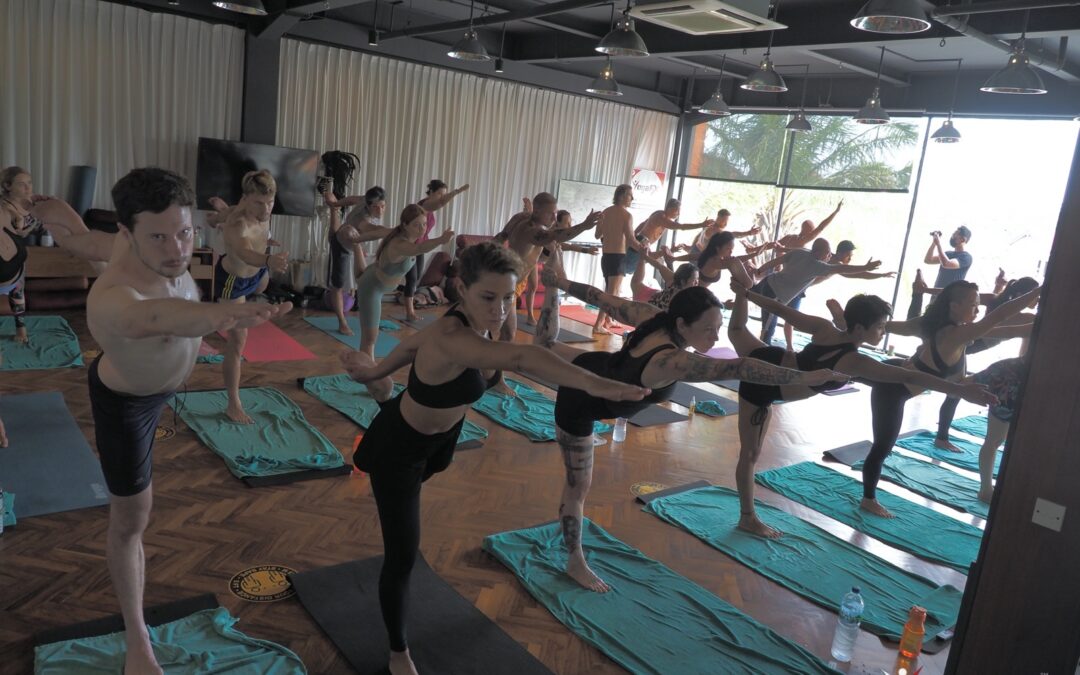
To learn triangle pose at home, set a wide stance, turn the front foot out, bend the front knee, send the hips back and reach the top arm long. Warm up first and stop at pain, not at tension. This guide, shaped by Mr. Ian Terry's teaching, gives seven cues you can check on your own.
Triangle pose (Trikanasana in the 26&2 sequence, often written Trikonasana elsewhere) looks calm from across a room. Up close it is a deep lunge, a long spine and a twist of attention all at once. That is why it is a great posture to study slowly at home before you ever meet it in a heated studio.
Triangle Pose Step by Step: The 7 Cues at a Glance
Here is the whole posture in seven plain-language cues. We do not print the live dialogue, because it is taught word for word in class. Instead, this is a map of what each cue asks your body to do, in the order you meet it.
- Build a wide base. Step your feet far apart, so the front knee can bend without the back leg giving up.
- Turn the front foot out. The front toes point to the side, and the back foot stays nearly straight ahead.
- Raise both arms. Lift them to shoulder height and grow tall before you move.
- Bend the front knee. Track it over the middle of the foot, while the back leg stays straight and strong.
- Send the hips back. This gives the chest room to open instead of folding forward.
- Reach with the top arm. Keep it long beside the ear, so one line runs from the back foot to the fingertips.
- Look up and breathe. Turn the gaze only as far as the neck allows, then breathe slowly through the hold.
Each cue fixes the one before it. The wide base makes the knee bend possible, and the knee bend makes the hips and chest work. Skip one, and the whole shape wobbles.
Where Triangle Pose Sits in the 26&2 Sequence
A 26&2 class is 26 postures and 2 breathing exercises, always in the same order. Triangle pose comes late in the standing series. It follows Standing Separate Leg Stretching and arrives just before Standing Separate Leg Head to Knee. By then your legs are warm, which is exactly why the deep knee bend feels so honest.
You can see the whole order on our 26&2 poses page. If you want to study the full set one posture at a time, our guide to the 26 postures at home walks through them step by step.
The same posture exists in many styles, so the name can mislead you. Our sister site explains how the posture is taught cue by cue inside the studio class, in its triangle pose cue-by-cue guide. This page does the opposite job: it shows you how to rehearse it on your own floor.
How to Set Up Triangle Pose at Home
A studio has mirrors, a teacher and a warm room. At home, you have to build those three things yourself. The table below shows how, using only objects you already own.
| Studio feature | Home substitute | What to check | Stop signal |
|---|---|---|---|
| Mirror | A phone propped at hip height, filming from the front | Does the front knee track over the middle of the foot? | The knee caves inward on the replay |
| Teacher's eyes | A wall behind your back heel | Do the hips travel back toward the wall, not forward? | Your lower back pinches |
| Warm room | 5 to 10 minutes of walking before you stretch | Do your legs feel warm and loose? | Any sharp or pulling pain |
| Fixed stance | Two strips of tape on the floor, one for each foot | Is the stance wide enough to bend the front knee fully? | You wobble or the back leg bends |
| Towel on the mat | A non-slip mat with a towel on top | Do the feet grip without sliding? | Your feet slip as you bend |
Warm up first. Mayo Clinic warns that you may hurt yourself if you stretch cold muscles, and it suggests light walking or jogging for 5 to 10 minutes first. Harvard Health gives the same 5 to 10 minutes of light activity, such as a quick walk.
The 7 Cues, Explained for a Home Learner
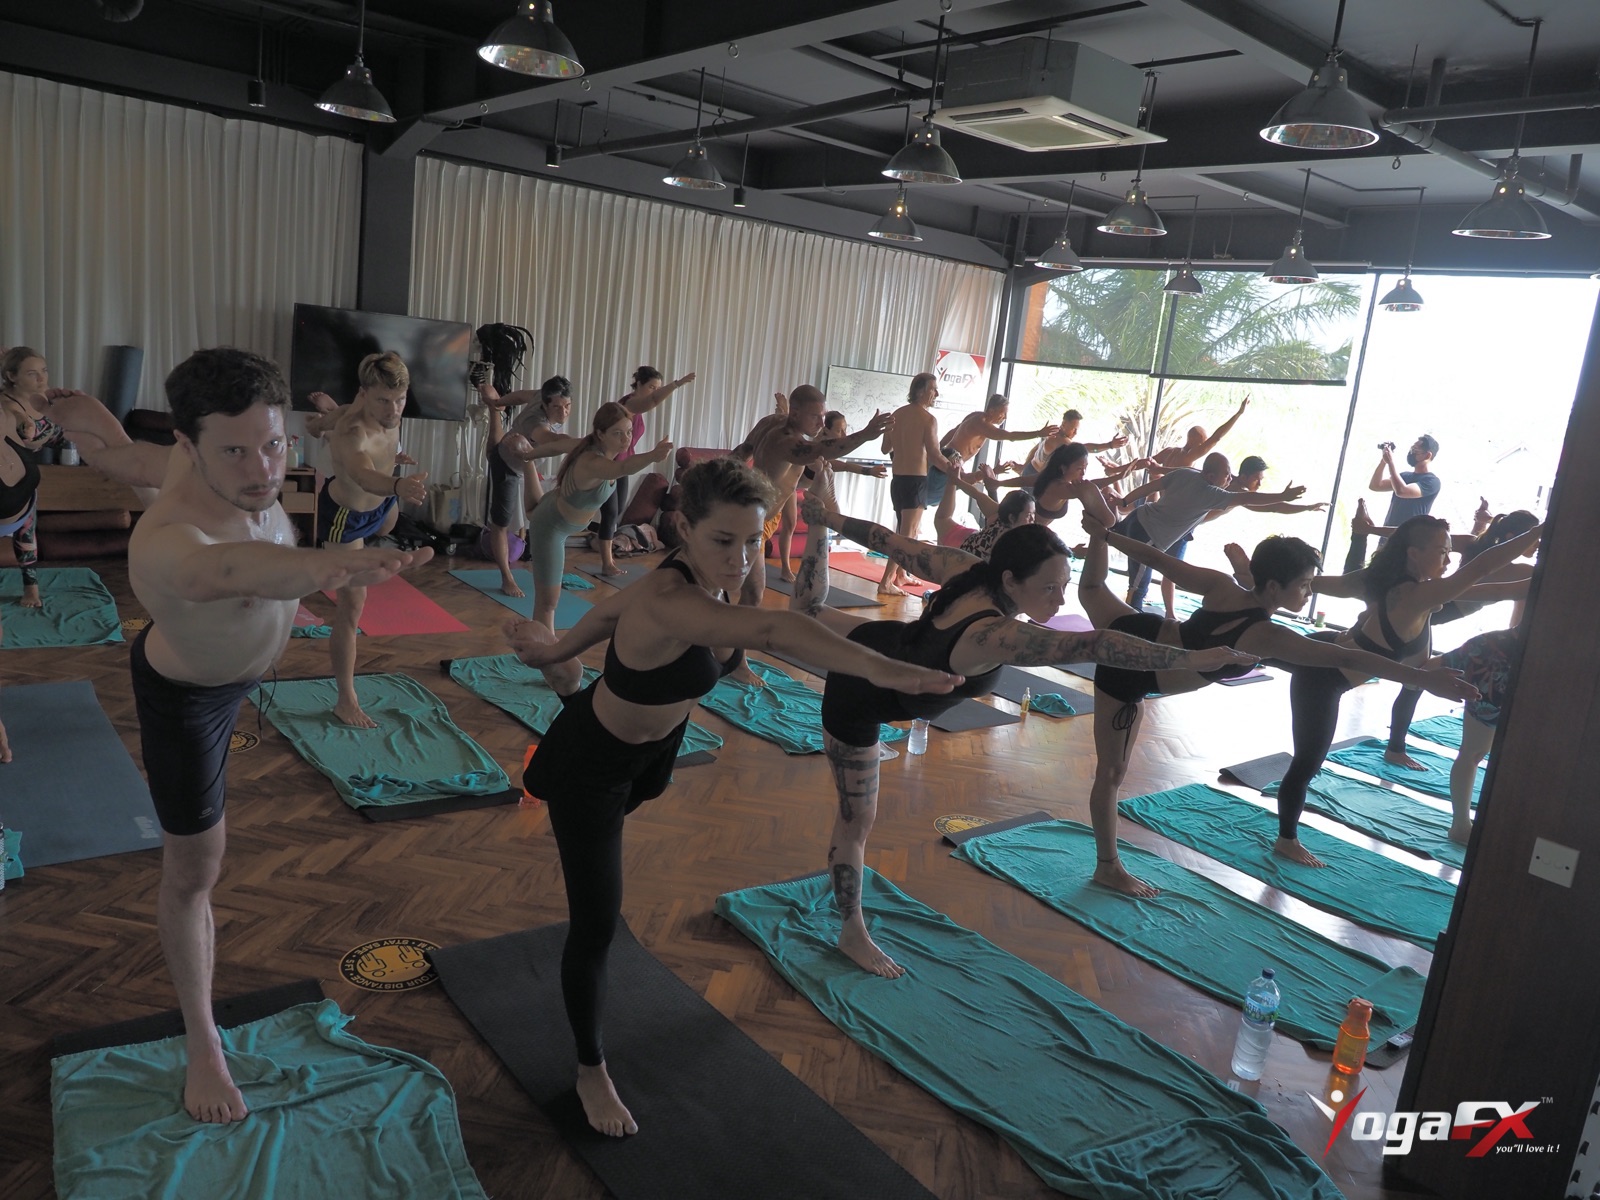
Now take each cue slowly. Spend a few breaths on every one before you add the next. In class, always follow your teacher and the full dialogue, because this section is a study aid, not a replacement.
Cues 1 to 3: Base, foot and arms
Start with the stance, because every other cue depends on it. If your feet are too close, the front knee drifts past the toes. If they are too far apart, you cannot hold the back leg straight. Test it by bending the front knee a little: you should feel both feet heavy and level.
Next, turn the front foot out so the knee and the hip point the same way. A foot that points forward while the knee turns out is a common source of knee strain. Then lift both arms and grow tall. Standing tall first gives the spine room to stay long later.
Cues 4 and 5: Knee and hips
The knee bend is where the work begins. Bend the front knee over the ankle while the back leg stays straight and strong. You should feel a strong burn in the front thigh and glute. Because that burn builds quickly, count your breaths instead of your seconds.
Then send the hips back. This is the cue most beginners miss, since the natural instinct is to push the hips toward the front foot. Use the wall behind your back heel as a guide. Your seat should travel toward it, and the chest should turn open instead of dropping toward the floor.
Cues 6 and 7: Reach, gaze and breath
Reach the top arm past the ear and keep it straight. The shoulder should stay away from the ear, not shrug toward it. Finally, turn the gaze up past the top arm. Let the eyes find a point first, and let the head follow only as far as your neck is comfortable.
Breathe slowly while you hold. A held breath tightens the whole body, so lengthen the exhale and let the shoulders drop. Mayo Clinic adds two rules that fit this posture well: stretch in a smooth movement without bouncing, and expect tension, not pain. If it hurts, you have pushed too far.
Triangle Pose Mistakes You Can Catch on Camera
Filming yourself is the closest thing to a studio mirror. Watch the replay for these four faults. Each one has a first fix that works without a teacher in the room.
- The front knee falls inward. Press it gently toward the little-toe side of the foot.
- The chest tips toward the floor. Send the hips back again and lift the breastbone.
- The back leg softens. Push through the outer edge of the back foot and straighten the knee.
- The neck cranks upward. Shorten the gaze and keep the back of the neck long.
For example, a student who locks the back knee often feels it behind the knee after practice. A soft but active back leg is safer and still works the inner thigh. If any joint pain appears, come out of the posture slowly and rest.
Zone 3-4 Effort: What to Expect and How to Pace It
Triangle pose feels harder than it looks because three things stack up: a deep knee bend, a long hold and steady breathing. On our working map of a studio class, it sits in heart rate Zone 3 to 4, roughly 70 to 90% of your maximum. That is a YogaFX estimate, not a measurement of this posture alone.
At home, without the heat, the effort will usually feel lower. That is a good thing. It lets you focus on shape before you add intensity. If you want to understand how the zones work, read our guide to hot yoga heart rate zones.
For context on the whole class, a 2014 University of Wisconsin study (Porcari et al.) measured about 333 kcal for women and 460 kcal for men in a 90-minute hot class. That figure covers the full class, not triangle pose alone.
| Version | Front knee | Lower hand | Best for |
|---|---|---|---|
| Full shape | Deep bend over the ankle | Reaches toward the floor beside the front foot | Warm legs and no knee or hip pain |
| Shallow bend | Half-depth bend | Rests on the shin | Tight hips or a first week of practice |
| Block version | Moderate bend | Rests on a block or a stack of books | Short arms or tight hamstrings |
| Wall version | Moderate bend | Free, with the back against a wall | Balance worries and hip alignment |
Choose the version that lets you keep the cues, not the one that looks the deepest. Tension is a useful signal. Pain is a stop sign. If you have a knee, hip, back or neck problem, high or low blood pressure, or you feel dizzy, speak to a healthcare professional first. This guide is general information, not medical advice.
A 20-Minute Home Plan for Triangle Pose
You do not need a long session. A short, repeatable routine beats one heroic effort. Harvard Health says stretching keeps muscles flexible and recommends a program of daily stretches, or at least three or four times a week.
- Minutes 1 to 7: Walk, then march in place until your legs feel warm.
- Minutes 8 to 10: Practise the wide stance and the front foot turn, with no bend yet.
- Minutes 11 to 17: Do two sets of triangle pose on each side, in the easiest version that keeps your cues.
- Minutes 18 to 20: Stand quietly, breathe, and watch your phone replay.
Keep the heat out of it. Practise at normal room temperature, with a window slightly open and water nearby. Never use a fuel-burning heater to imitate the studio. Our hot yoga online guide lists five home safety rules in full.
How Mr. Ian Terry Teaches Triangle Pose to Trainees
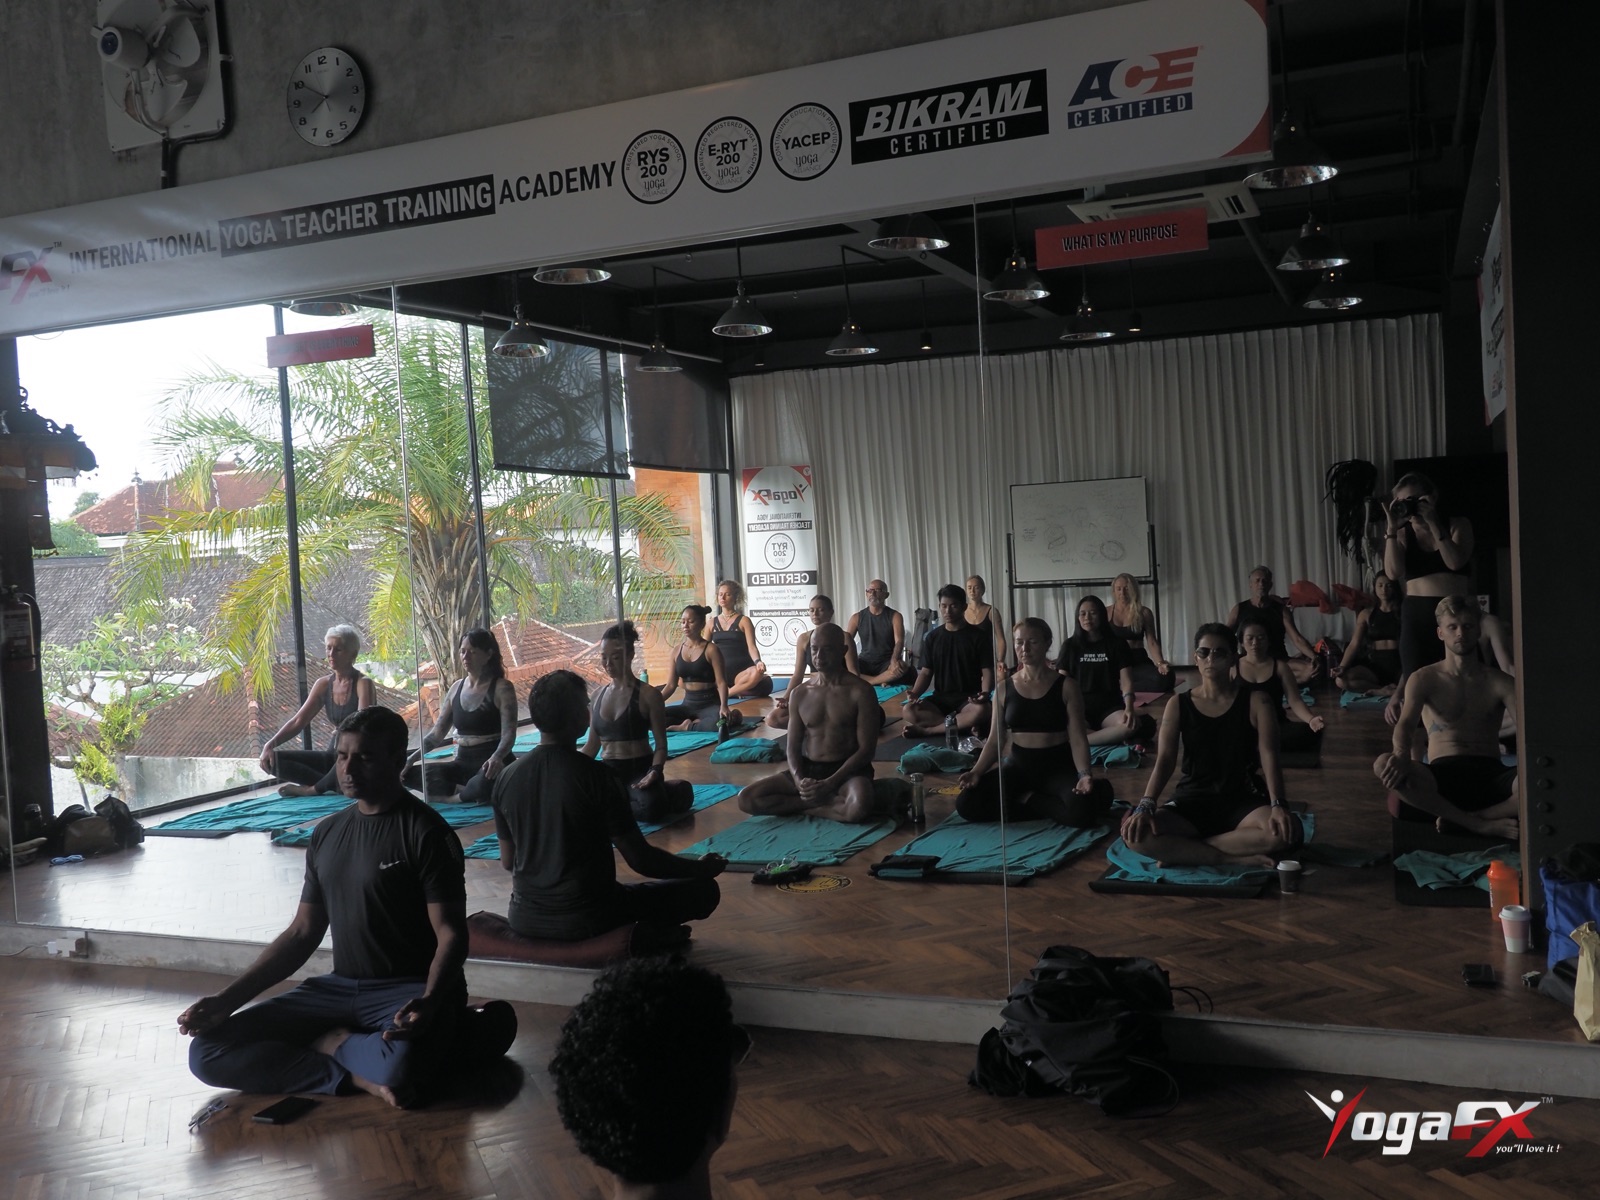
Mr. Ian Terry, E-RYT 500, has more than 12,000 teaching hours. He trained for five years, from 2014 to 2019, with the founder of the Bikram Hot 26&2 method, and he founded YogaFX in Bali in 2017. For a posture like triangle pose, that background shows in how trainees learn to speak, not only how they move.
Trainees practise naming where the weight sits in the front foot, where the knee points and where the hips drift. Then they learn to correct a misaligned student with words first. A video cannot do that, because a video cannot tell which cue the student needed. That is the gap the online course is built to close, and the Bali week closes the rest.
The online course costs USD 329, or 4 x USD 82. It includes the full dialogue workbook with MP3 audio for the standing and floor series, anatomy and posture lectures, and full demonstrations of each posture. There are no Zoom calls and no deadlines, and access does not expire. You can read the details on our hot yoga online page or go straight to the YogaFX Online Academy.
If you are curious about the next posture in the series, standing balance is a natural follow-up. Try our guide to balancing stick pose.
What Trainees Say After Learning the Postures
Students rarely describe one posture when they look back. They describe the effort, the teacher and the people around them. Here are three reviews from YogaFX students, with first names only.
I was able, day by day, to see significant improvements on my strength and flexibility and I got also the opportunity to get connected with amazing people.
Cinzia, Google review, 2022
Thank you for pushing us, giving this wonderful experience. It has been life-changing.
Fabiola, YouTube review, 2024 (transcript, lightly edited)
Thank you so much, Mr Ian, great yoga teacher.
Christina, Google review, 2020 (shortened)
Fabiola's graduation video is below. It is a 31-second clip from the YogaFX YouTube channel.

When You Are Ready to Feel It in a Heated Room
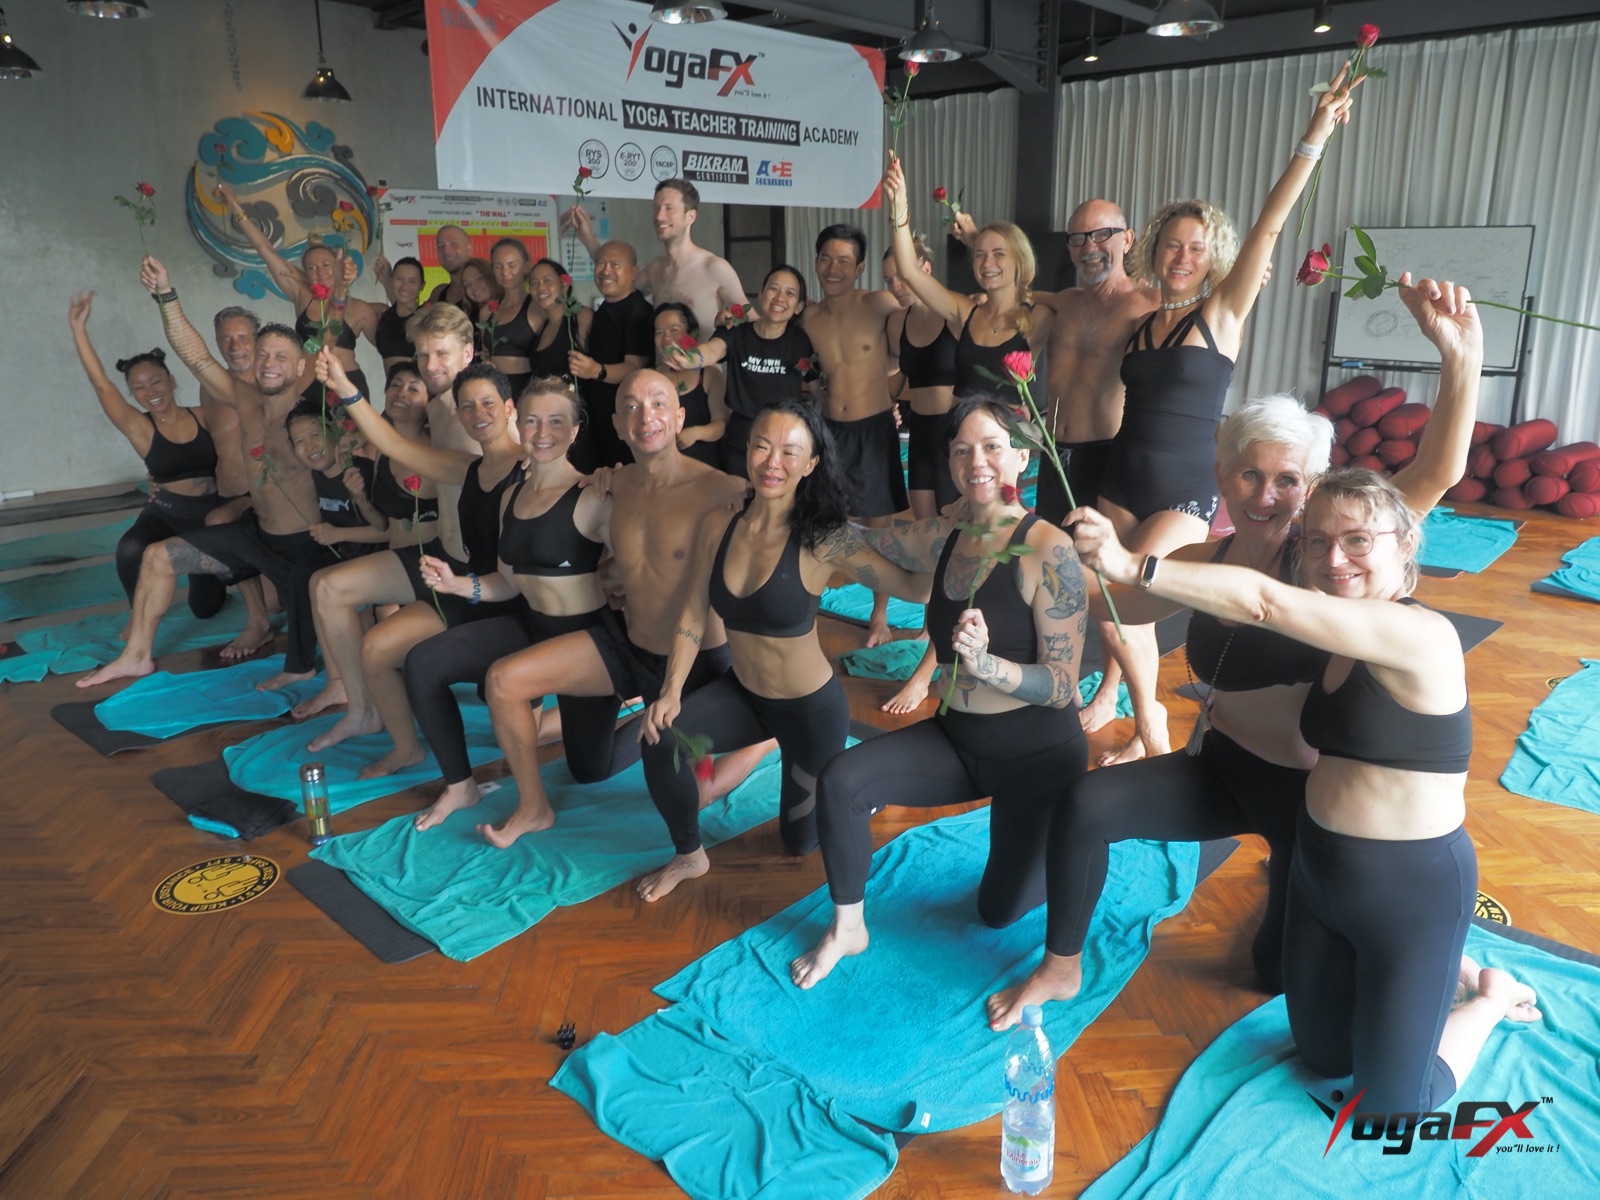
Home practice is a rehearsal. The heat, the pace of a full room and a teacher watching your knees only exist in the studio. When you are ready, the YogaFX studio in Seminyak, Bali, offers a Free 1-Day Guest Pass, so your first class is free. The address is Jl. Pangkungsari Gg Jepun No.888, Kuta Utara, Seminyak, Badung, Bali 80361.
Two sets on each side is the point. The second set shows you what you changed in the first. At home, your phone shows you the same thing, only more slowly.
This article is part of our online yoga teacher training guide. Related reading in Teacher Training Guides: Tripaneer Bankruptcy: 7 Steps to Protect Your Yoga Teacher Training Deposit and Tripaneer Reviews and the Bankruptcy: Look Beyond the Booking Screen Before You Pay.
Want hands-on practice in a heated room? See the Bikram yoga teacher training in Bali, led by Mr. Ian Terry, our lead trainer.
FAQ
How do you do triangle pose step by step?
Step your feet wide, turn the front foot out, lift your arms, bend the front knee, send the hips back, reach the top arm past the ear, then look up and breathe slowly. Warm up first, avoid bouncing, and stop if you feel pain instead of tension.
How do you modify triangle pose if your hamstrings are tight?
Keep the front knee bent more deeply than feels needed, and rest the lower hand on your shin, a block or a stack of books instead of reaching for the floor. Keep the spine long. A modified shape that keeps the cues is better than a deep shape that loses them.
Can you practise triangle pose at home without a heated room?
Yes. Practise at normal room temperature after a 5 to 10 minute walk to warm your muscles. The studio is about 40°C (104°F) with 40% humidity, which is hard to copy safely at home. Never use a fuel-burning heater, and keep water nearby.
Is triangle pose safe for your knees?
It can be, when the front knee tracks over the middle of the foot and the foot turns out with it. Knee strain often comes from a knee that falls inward. If you have a knee injury, speak to a healthcare professional first and tell your teacher before class.
How often should you practise triangle pose at home?
Three or four short sessions a week is a reasonable start. Harvard Health suggests stretching daily, or at least three or four times a week. Keep each session to about 20 minutes, include a warm-up, and rest when your legs feel heavy.
Still have questions? Message Mr. Ian and the YogaFX team on WhatsApp and we will answer them personally.

Founder and lead trainer of YogaFX International Yoga Teaching Academy, with more than 12,000 hours of teaching. He trained for 5 years, from 2014 to 2019, with the founder of the Bikram Hot 26&2 method.
Published · Last reviewed and updated
You may also like
Explore all articles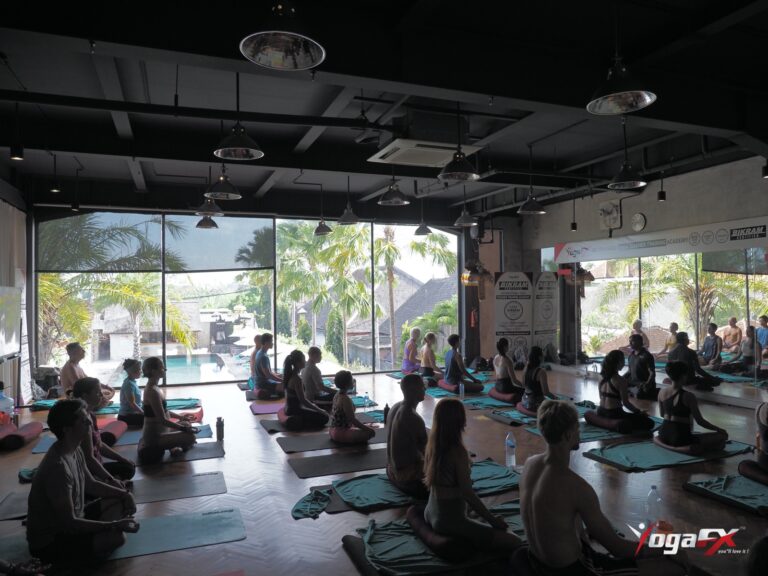 Teacher Training Guides11 min read22 Nov 2026
Cobra Pose Online Lesson: Bhujangasana Script and Cues
Read article ↗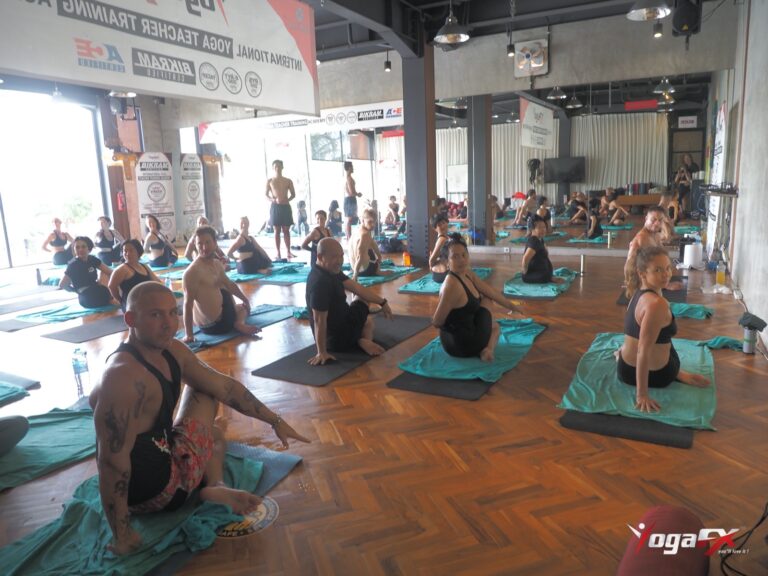 Teacher Training Guides14 min read22 Nov 2026
Balancing Stick Pose: Learn the Steps and Fix Mistakes Online
Read article ↗ Teacher Training Guides14 min read21 Nov 2026